Thursday 18 November 2010

Developer’s Blog – Post No. 21

Well firstly thank you to André for pointing people towards my blog in order to vote on their favourite designs, whether anyone listens who knows but its still very kind of him.

Now onto the main reason.. i modelled the body =D

i finally got it done after leaving my one at college and forgetting to save my other =[

So here it is

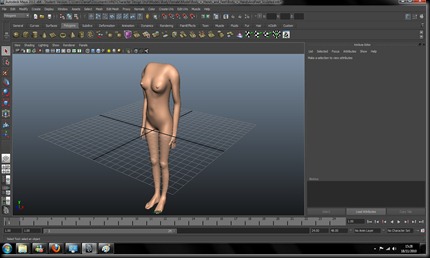
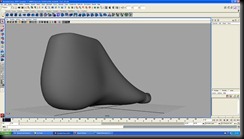
Screen_1

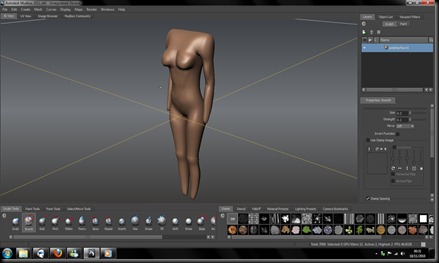
This was what the model looked like when i made it in Maya, although as you can see the model has been imported into Mudbox ready for me to sculpt it. oh i had to add the hands and the feet in Maya before exporting it again, i only thought after id already exported it once so i ended up having to re-sculpt it from the start, obviously with the extra details on the hands etc. being put in

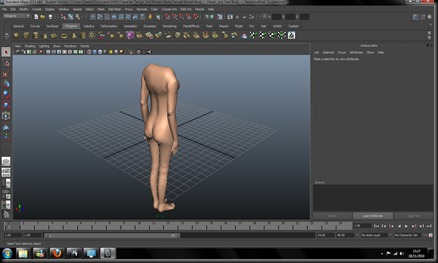
Sculpting was really fun and i am really happy with how my final piece turned out. I had a few problems getting the breasts and shoulders right, especially the back of the shoulders. Well here's my final sculpted version, let me know what you all think. Its my first proper go of Mudbox too so go easy on me =P

Constructive criticism very welcome! unless your just going to point out its missing the head =P

well here's the model then

Screen_Front_2

Screen_Back_2

The models here have been exported back into Maya, for the simple reason of you can see them much clearer here.

Well thanks for reading all and Kind Regards,

Daniel Young
Tuesday 16 November 2010

Developer’s Blog – Post No. 20

Helmet Wings Iterations


Please Vote on your favourites, Thank you all

Kind Regards,
Daniel Young
Developer’s Blog – Post No. 19

Headpiece Iterations


Please Vote on your favourites, Thank you all

Kind Regards,
Daniel Young
Developer’s Blog – Post No. 18

Visor iterations


Please Vote on your favourites, Thank you all

Kind Regards,
Daniel Young
Developer’s Blog – Post No. 17

Mouthpiece iterations


Please Vote on your favourites, Thank you all

Kind Regards,
Daniel Young
Developer’s Blog – Post No. 16

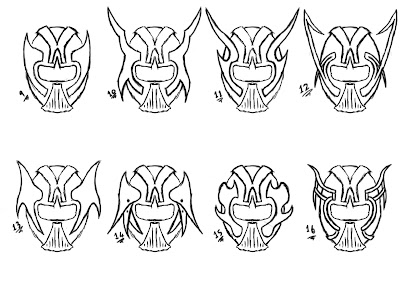
Now i have finished my helmet iterations i drew the 7 i liked best on photoshop. these images are below.

After i drew these i picked the two i liked best, and picked the first one to iterate. This one was helmet 7.
Helmet 7 was my favourite in many ways, i like the over all design and believe it would make the best impact on the player when they see it. But i also recognised that iterating is an important process and so decided id iterate each part of the helmet and pick the ones i like best. More than just picking the one i like best id also like my readers to pick their favourite ones and give me some feedback maybe =]

So in the next 4 posts there is going to be 16 designs for each aspect of the helm. Just scan over them and then vote for your favourite in the polls on the side. Also feel free to post any thoughts in the comments.

Thanks for reading and Kind regards,
Daniel Young

Monday 15 November 2010

Developer’s Blog – Post No. 15

NEW UPDATE!!!!!!!!! YAY! =P
Okay so after the last post where i outlined my first experiences with Maya and modelling a hand this time it was a foot!
After loading the reference images given to me by my tutor, Simon, i began to start modelling the foot. only a couple of us in the class were actually ready to move on as a lot of them were still back modelling the hand. I was quite happy being ahead of the class as i was one of the ones with the littlest experience on Maya and one of the most resilient to make the switch from Max.
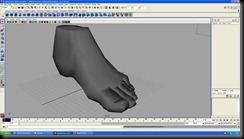
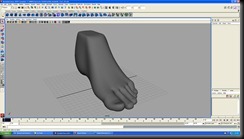
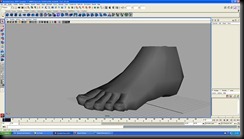
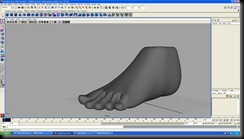
So onto the model itself. First thing obviously was getting the shape right, which was quite hard without over tessellating my model and sticking plenty of extra poly’s in. but i found a way to make it work i think. Then after that i modelled each toe, using the same technique as before just copying the one toe and then copying it again and again and just moving verts to make it the shape of the new toe and attaching it to the foot. After i made all toes Simon pointed out that my toes of my model had too many cuts in the, and that when it comes to putting it into a 3D sculpting programme and tessellating it so it can be sculpted the model would get completely screwed up and maybe even cause the computer to crash. so i removed some of the poly;s of the toe and i ended up with the below model. there is a softened and a smoothed version of each angle, though i know i shouldn't smooth to model i promise i didn’t. I only used to see what my model did look like smoothed
Angle One
Foot_1Foot_2
Angle Two
Foot_3Foot_4
Angle Three
Foot_5Foot_6
Im really hoping that the next thing we model is the head, it would be really cool to be able to model the head., and start to see my model come together as a whole. 
Now im off to bed to sleep. Hope you enjoyed the new update as much as i enjoyed the modelling
Thanks For Reading And Kind Regards,
Daniel young